What Is Kayaking?
Published August 21, 2024
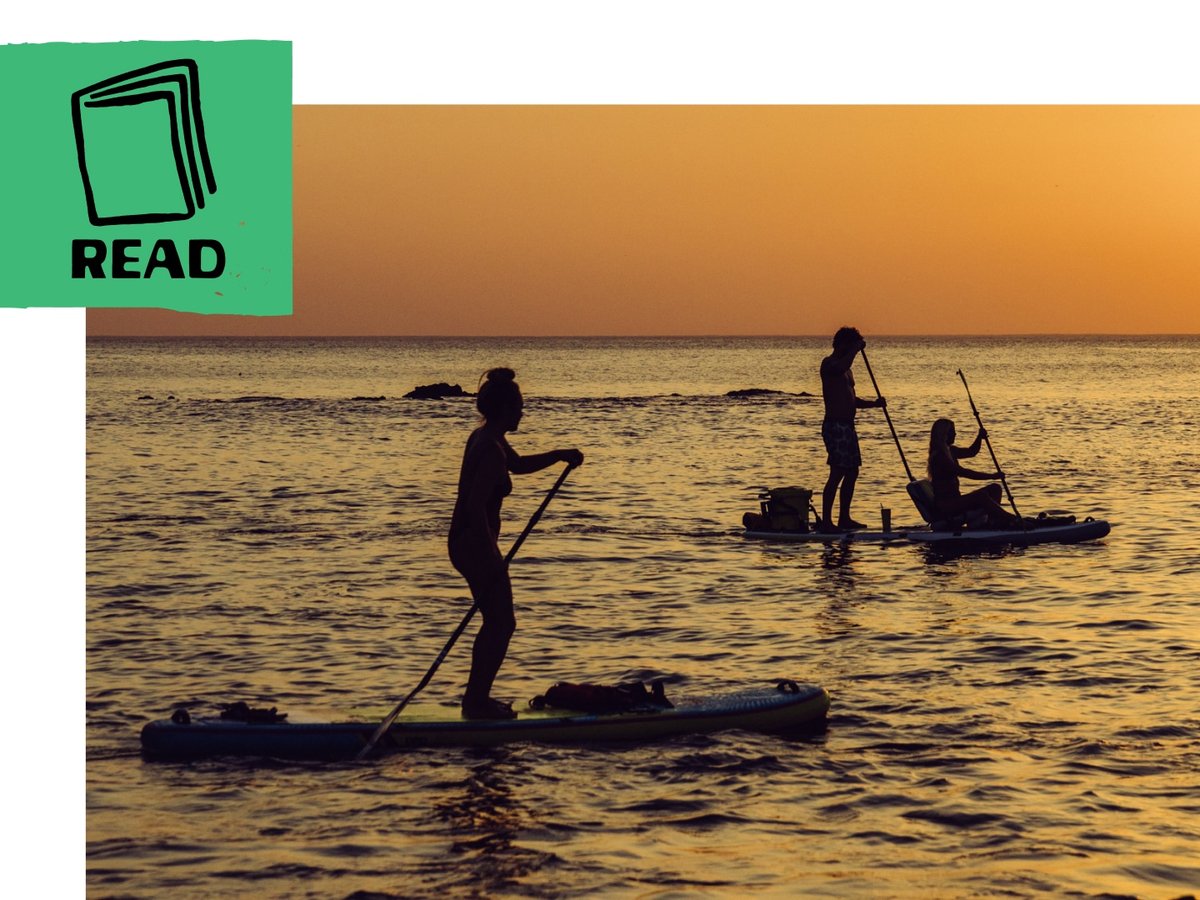
More and more people have figured out what our Gearhead® Experts have known for ages—kayaking is a blast. It's fun to hit the water in these low-profile boats with the double-bladed paddles. But there is a little learning curve when it comes to paddling a kayak. That’s why we created this introduction to kayaking. The following kayak basics will teach you how to choose the correct kayak, how to get on the water and paddle, and how to gear up for your paddling adventures.
Kayak Basics
Kayak-like vessels have been used by many different indigenous people for centuries, but the word kayak comes from the Inuit and means man-boat or hunting boat. The original kayaks were long and slender boats made from seal or animal skins stretched over wood or whalebone frames. Today’s kayaks span many sizes and materials, ranging from durable and affordable plastics to lighter, more expensive fiberglass, carbon fiber, and Kevlar.
Most kayaks fall within three basic categories:
- Touring kayaks are longer, narrower boats that are fast, efficient, and track well in open water—best for big lakes, oceans, and long-distance paddling.
- Recreational kayaks are small-to-mid-sized boats that are relatively stable, easy to paddle, and made for shorter floats on easier rivers and flatwater.
- Whitewater kayaks are short, highly maneuverable boats that are made to run rapids, change direction quickly, and sometimes play with water features.
If kayaks were bikes, touring kayaks would be road bikes, recreational kayaks would be hybrid or comfort bikes, and whitewater kayaks would be mountain bikes. Touring kayaks and whitewater kayaks excel at their more specialized uses but have steeper learning curves. Beginners usually start out with recreational kayaks because they’re relatively affordable, versatile, and easier to paddle.
Recreational Kayak Guide
Averaging 10- to 12-feet long, recreational kayaks can handle everything from small creeks and Class I rivers to ponds, lakes, and sheltered coastal environments. At the same time, the recreational kayak category is a broad one—one that includes short- to mid-sized boats and a mix of sit-in, sit-on-top, hardshell, inflatable, single, and tandem kayaks.
Here’s a quick guide to sort through these options to choose the best recreational kayak for your paddling excursions:
What size kayak should you buy?
Length and width measurements don’t tell you everything about a kayak, but they go a long way toward determining how a boat will handle different types of water. Generally speaking,
- Longer and narrower kayaks are faster and track better
- Shorter kayaks turn quicker
- Wider kayaks feel more stable (at least in calm water)
Given that, here are some Gearhead® tips for choosing the best size kayak:
- A 12-foot recreational kayak is the most versatile kayak you can buy because it’s short enough for small waterways and relatively efficient on flatwater lakes
- Choose a longer (12–13ft) recreational kayak if you’ll primarily be paddling flatwater lakes or surf to go faster, burn less energy, and track better.
- Shorter (9–10ft) recreational kayaks may be fine for small creeks and downstream paddling but slow and tiring to paddle upstream, against the wind, or on lakes
- Shorter kayaks might be the smart play if you have limited storage space in your garage/apartment or plan to transport your kayak in a truck bed
- Anglers, photographers, hunters, and nervous beginners often prefer wider (30+ inch) recreational kayaks because they feel “less tippy”
- Narrower kayaks may feel “tippy” to beginners, but they may be more stable than wider kayaks in big water and more difficult currents.
What type of recreational kayak should you buy?
A one-person, sit-inside, hard-shell kayak is a great option for most paddlers. However, some paddlers have solid reasons for choosing a sit-on-top kayak, tandem kayak, inflatable kayak, or more expensive fiberglass, carbon, or Kevlar kayak.
The main benefit of a sit-on-top kayak is that it’s much easier to get off and on, especially in deep water. That makes sit-on-tops popular with beginners who are anxious about wet exits and self-rescues in a traditional, sit-inside kayak. Sit-on-tops also make sense for snorkelers, swimmers, and anglers who regularly hop off and on their kayaks.
The biggest downside of a sit-on-top is that kayakers are guaranteed to get wet. Water comes up from the scupper holes, and there’s no cockpit to protect against wind, waves, and spray. That limits sit-on-tops to warm water paddling. Plus, they’re generally heavier, slower, less efficient, and less stable than sit-in kayaks.
Tandem kayaks tempt many people because it’s usually cheaper to buy one two-person kayak than two single kayaks. Tandem kayaks may be the best choice for paddlers who have a guaranteed paddle partner, such as a spouse, child, or paddle buddy. However, tandems are not made to paddle alone and have the nickname of “divorce boats” because they take teamwork to paddle and may be a waste of money if two people aren’t totally committed to paddling together. Many of us have enjoyed some awesome day trips in a tandem kayak, but that’s not true for everybody.
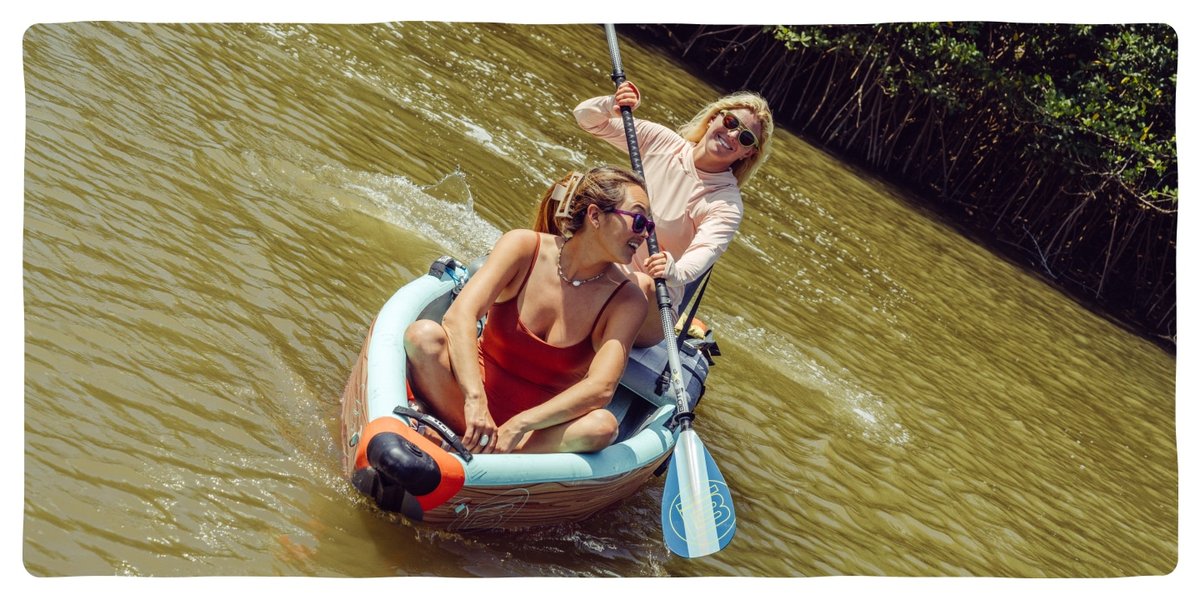
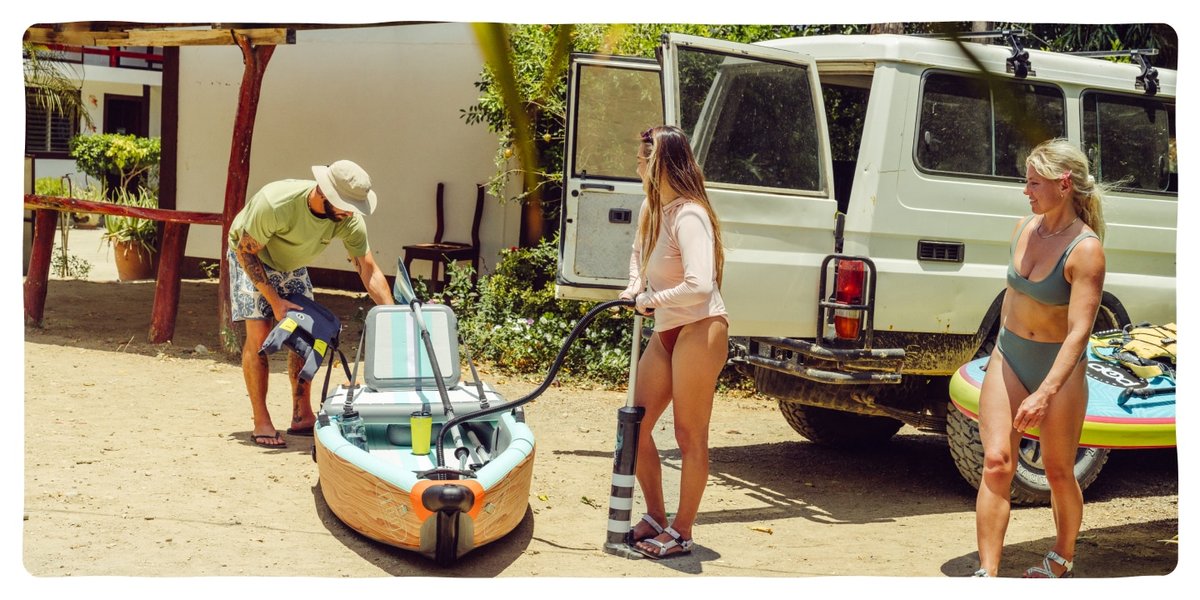
Inflatable kayaks may be a great choice for paddlers who live in apartments, don’t have garages, or drive smaller vehicles. They’re relatively durable, don’t require as much storage space, and fit into most cars, trucks, and SUVs to transport without a kayak carrier or trailer. The downside is that inflatable kayaks aren’t quite as fast or efficient as hardshell kayaks.
What kayak material should you choose?
Most recreational kayaks are made from rotomolded plastic or durable HDPE (high-density polyethylene). Plastic kayaks are more affordable and handle rocks and abuse better than lighter weight materials. However, some paddlers pay more for a lightweight fiberglass, carbon, or Kevlar boat for the weight savings. Those premium materials are most popular in longer touring kayaks as 16–17ft boats will be much heavier than 10–12ft boats. These weight savings also make a big difference when carrying a kayak or trying to lift it up to a rooftop kayak carrier.
Kayaking 101
Now that you’ve found the best kayak for your personal paddle adventures, here's how to get on the water to enjoy the sport of kayaking.
How To Set Up Your Kayak
Once you have a kayak, you’ll need to take a few minutes to set it up. This is much easier on land, so make the following adjustments with your kayak sitting on something forgiving, such as thick carpet, foam blocks, grass, or sand.
First, adjust your seat. Most kayaks now have adjustable seat backs with straps or bungees that you can shorten or lengthen to adjust your seating position. You want to sit upright—not slouched in a recliner—for better balance and a proper paddling position.
Next, adjust your foot pegs. Most kayaks have tracks with foot pegs that you can slide up or down by either tilting them or pressing a lever to release or engage a small locking mechanism. Adjust the positions of the foot pegs until they fit the length of your legs. Your foot pegs are placed correctly when your knees are slightly bent with the balls of your feet pressed comfortably against the pegs.
You’ve adjusted your kayak correctly when you’ve established three points of contact:
- Butt pressed firmly against the seat back
- Feet comfortably pressing the foot pegs
- Knees firmly lodged against the edge of the boat (sit-inside)
These three points of contact help you balance and control your kayak on the water. Next, we need to get your kayak on the water.
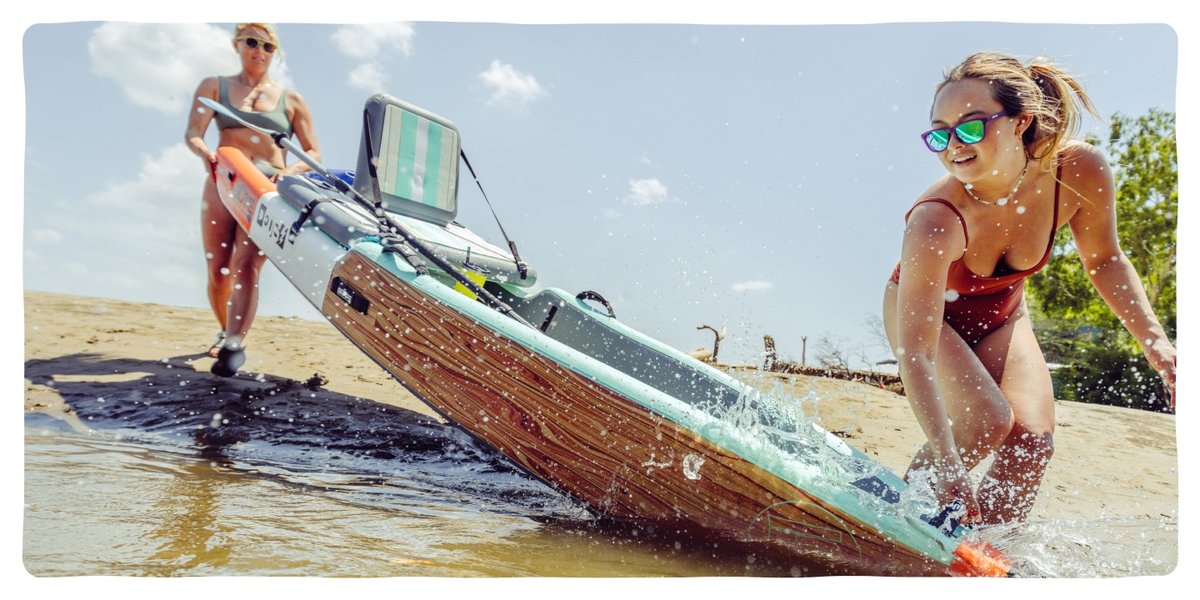
How To Launch A Kayak
It’s easiest to launch a kayak from a shallow beach or boat ramp. Here’s how:
- Set the boat in shin-deep water next to shore
- Straddle the boat with your butt centered over the cockpit
- Grab the front of the cockpit and drop your bootie into the boat
- Once you’re balanced, slowly slip in your feet and legs
- Place your feet on the footpegs to push yourself back to an upright position
- (Optional) secure your spray skirt, working from back to front
On a shallow, protected beach, you can launch with a kayak’s nose pointed out to deeper water, perpendicular to shore. A perpendicular launch makes the most sense when you’ve got waves coming in off the lake or ocean. However, a parallel launch is safer if you’re entering the water from a dock, a deeper drop-off, or faster water.
For a parallel launch, drop the kayak in the water, holding it parallel to shore. Place one end of your paddle shaft behind the cockpit with the opposite paddle blade resting on the dock or shore. With the paddle braced behind you, place your outside hand on the paddle shaft behind the cockpit with your other hand on land. This uses the paddle and your body weight to hold the boat in place. Use that paddle brace position to help you drop your butt into the seat and then slip your legs into the cockpit. Once you’re settled into a balanced position, swing the paddle in front of you, push off from shore, and paddle your way into deeper water.
How To Grip A Kayak Paddle
Here’s the correct way to grip a kayak paddle:
- Center the paddle in front of you (or on top of your head) with your hands slightly wider than shoulder length (elbows at 90 degrees). Your hands should be the same distance from your paddle blades.
- Make sure the longer edge of the paddle blade is on TOP with the blade faces curving back toward you. Most paddle blades are branded—your paddle is oriented properly if the brand name is visible and right-side up when paddling.
Slide the rubber drip rings outside your hand positions, setting them wider than the outer edges of your kayak. This prevents water from dripping on you or into the boat. - Grip the paddle gently, forming an O with your thumb and pointer finger and gently laying your other three fingers on top of the shaft. The looser the better—tight grips lead to blisters, cramped hands, and awkward paddle strokes.
- Rotate the shaft to align your grip with the paddle blades. Your large knuckles should be on top of the shaft, lined up with the top of each paddle blade. (For feathered blades, line up the knuckles of your dominant hand to the paddle blade, so your non-dominant hand rotates with the off-set blade.)
Once you’ve got a relaxed, centered grip on the paddle, you’re ready to paddle.
Basic Paddle Strokes
Paddling is a relaxed, rhythmic process that ideally uses paddlers’ core muscles more than their arms to propel a kayak through the water.
Here’s a quick introduction to a kayaker’s three most basic strokes:
The basic kayaking stroke is the forward stroke:
- Reach forward to dip a paddle blade into the water parallel to your toes.
- Power the paddle blade backwards, maintaining a straight line parallel to the side of the kayak. Rather than pulling back with your bottom hand, focus more on pushing forward with your top hand and rotating your torso through the stroke—twisting to face the paddle blade as it moves through the water.
- Once the paddle blade passes behind your hip, rotate the paddle blade out of the water to dip the other blade in the water on the opposite side of boat.
- Repeat steps 1–3 on the other side of the boat.
To get the most out of each forward stroke, focus on full-length strokes (where the blade catches water all the way from your feet to your hips) and try to use your core muscles more than your arms to rotate the paddle. If you’re rotating properly on a traditional, high-angle paddle stroke, your top hand will pass in front of your forehead as if you’re checking a wristwatch.
The reverse stroke is basically the mirror opposite of the forward stroke:
- Stab a paddle blade into the water just behind your hip.
- Rotate your torso and push forward with your bottom hand to power the paddle blade forward through the water until it’s parallel with your feet.
- Once the paddle blade is parallel with your feet, rotate the paddle to repeat the same stroke on the opposite side of the boat.
Kayakers use the reverse stroke to paddle backwards, stop the boat, or aggressively turn the nose of the boat to avoid an obstruction, such as a rock, log, or dangerous wave.
The sweep stroke is a variation of the forward stroke that kayakers use to turn quickly:
- Reach forward to dip a paddle blade into the water parallel to your toes.
- Sweep the paddle blade in a wide, rainbow-shaped arc on the side of the boat, rotating at the torso to complete a full arc from the nose to the tail.
This sideways sweeping motion turns the bow of the kayak much faster than repeated forward strokes on one side of the boat. Concentrate on finishing your sweep stroke as close to the tail of the boat as possible by twisting your torso and turning your face toward the paddle blade as it passes behind you. It’s the last few feet of the sweep behind you that really turns the nose of the boat.
With a little practice, each of these basic strokes will become second nature. If you focus on your form early on—especially on using your abs more than your arms—you'll internalize good form, be able to paddle longer, (have stronger abs), and not waddle side to side on the water (like many beginners who get little out of each stroke).

How To Transport Your Kayak
The best way to transport a kayak to and from the water is with a dedicated kayak rack. Rooftop kayak carriers attach to most vehicles’ crossbars to secure one or more kayaks for the road. Paddlers can choose from several styles of rooftop kayak racks:
- J-style racks are basic J-shaped cradles that support a kayak on its side. These work best for occasional use since you normally take them down between paddle trips.
- Folding kayak carriers are J-style cradles that fold down when not in use for better aerodynamics and to park in a garage without removing the rack.
- Stacker kayak carriers are folding supports made to stack multiple boats on end and take up less roof space. Stackers work better with shorter kayaks.
- Kayak saddles are low-profile pads that let kayaks ride upright. They’re garage door-friendly and make it easier to hoist heavier kayaks up onto your roof.
In each of these roof rack systems, paddlers secure kayaks to the carrier with straps and run bow and stern ropes from the vehicle to the boats to prevent them from sliding forward or backward with abrupt braking or acceleration.
Truck beds may or may not work to transport a kayak. If you can fit more than half of the boat in your truck bed and use ropes or straps to secure it, you may be able to transport a kayak without a kayak-ready truck rack.
If you’re strapped for cash, foam block kits let you strap a kayak directly to your roof or crossbars without a rack. This budget-friendly method may work okay for transporting a kayak a short distance at slower speeds. However, foam block systems may be vulnerable to passing semis, strong crosswinds, wet roofs, and interstate speeds.
Again, mounted kayak racks are the safest way to transport a kayak to and from the water without losing your boat, putting other drivers at risk, or damaging your own vehicle.

How To Gear Up For Kayaking
Much like backpacking, skiing, and climbing, kayaking also requires some specialized gear and purposeful clothing choices for safety, comfort, and enjoyment.
Here’s a quick overview of essential kayaking gear.
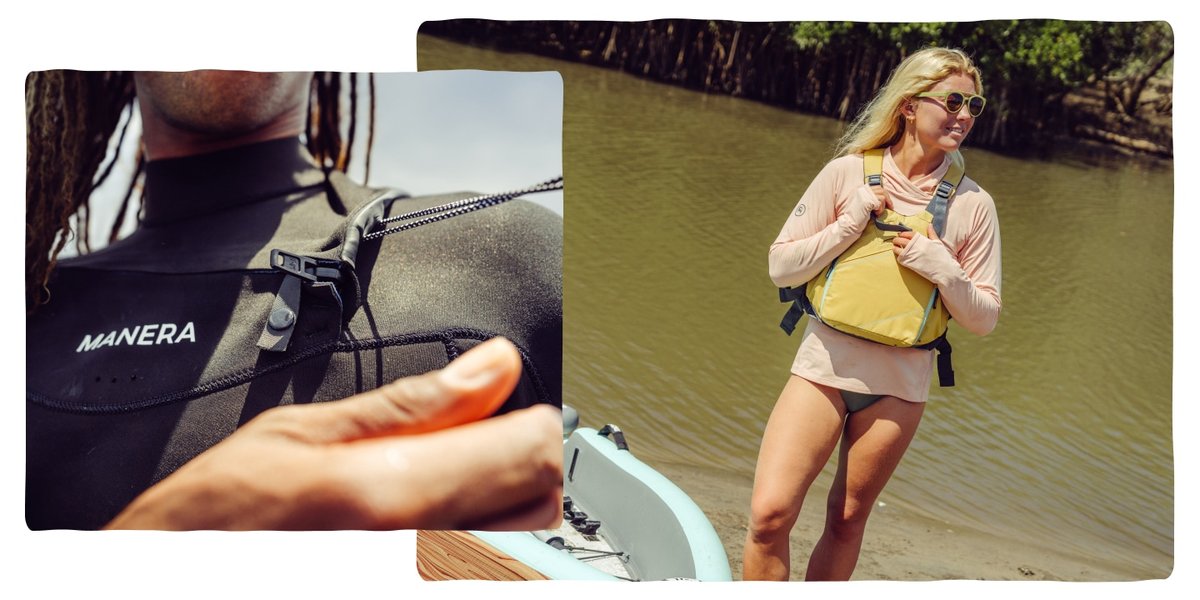
PFDs
The first rule of kayaking is always wear a PFD. A personal flotation device (aka life vest) will protect you if you capsize and make self-rescues much easier and less dangerous in faster or deeper water. Many PFDs are paddler-friendly, shaped to maximize the mobility of our arms while keeping us safer on the water. Whitewater kayakers should choose a whitewater PFD while recreational kayakers will be fine with a recreational PFDs.
Paddles
Our strong selection of whitewater and recreational kayak paddles includes aluminum, fiberglass, and carbon paddles.
- Aluminum paddles are the most durable and affordable option. While they’re also the heaviest option, they're plenty light for casual paddlers and short day trips.
- Fiberglass paddles are popular among experienced recreational kayakers because they balance durability and weight savings without breaking the bank.
- Carbon paddles are the lightest, most expensive paddles available. Their ultralight build saves energy on long day trips and multiday tours.
Whitewater paddles will have shorter shafts with broader paddle blades for quicker maneuvering and more powerful strokes in fast water. Recreational paddles have longer shafts with a range of blade shapes (including offset options to feather your blades for better aerodynamics in the wind).
Gearhead Tip: Your paddle size is determined by two things: your height and the width of your boat. You can compare your height and your kayak’s specs with a paddle size chart to choose the correct size—or call or chat with a Backcountry Gearhead for help choosing the best paddle for you.
Kayak Clothing
Experienced kayakers assume that they will get wet when they choose their clothing for kayaking. As whitewater kayakers say, “we’re all just in between swims.”
We wear natural and synthetic materials that dry quickly and don’t absorb much moisture—and avoid cotton at all costs. Cotton absorbs a ton of water, dries slowly, and makes it harder to swim, so leave your bluejeans, sweatshirts, and cotton undies back at the crib. Focus on quick-drying synthetics or merino wool layers that absorb less moisture and dry quickly: swimsuits, rash guards, or sun hoodies in warmer conditions and polyester fleeces, wool sweaters, synthetic puffies, and nylon shell jackets for colder conditions.
Crucially, kayakers should dress for the water temperature, not the air temperature. It’s risky to kayak in waters that are 60 degrees or less without wearing protective clothing, such as a wetsuit or dry suit:
- Wetsuits are made with neoprene or another thermal material to provide insulation for cold water paddling. That insulation traps body heat, warming the water against our skin to maintain our core temperature in cold water.
- Dry suits keep whitewater and touring kayakers warm by keeping them dry. Dry suits aren’t as mobile as wetsuits, but they seal out cold water with waterproof materials and watertight gaskets for the ultimate safety in colder water.
On our feet, we prefer quick-drying adventure sandals, paddle booties, or dedicated water shoes with supportive, no-slip soles for slick environments. Here are some of our favorite sandals and water shoes for women and men.
And for paddling in waves or in cold, wet, and windy conditions, we may top off our kit with a dry top, paddle jacket, or paddle gloves to keep us drier and warmer on the water.
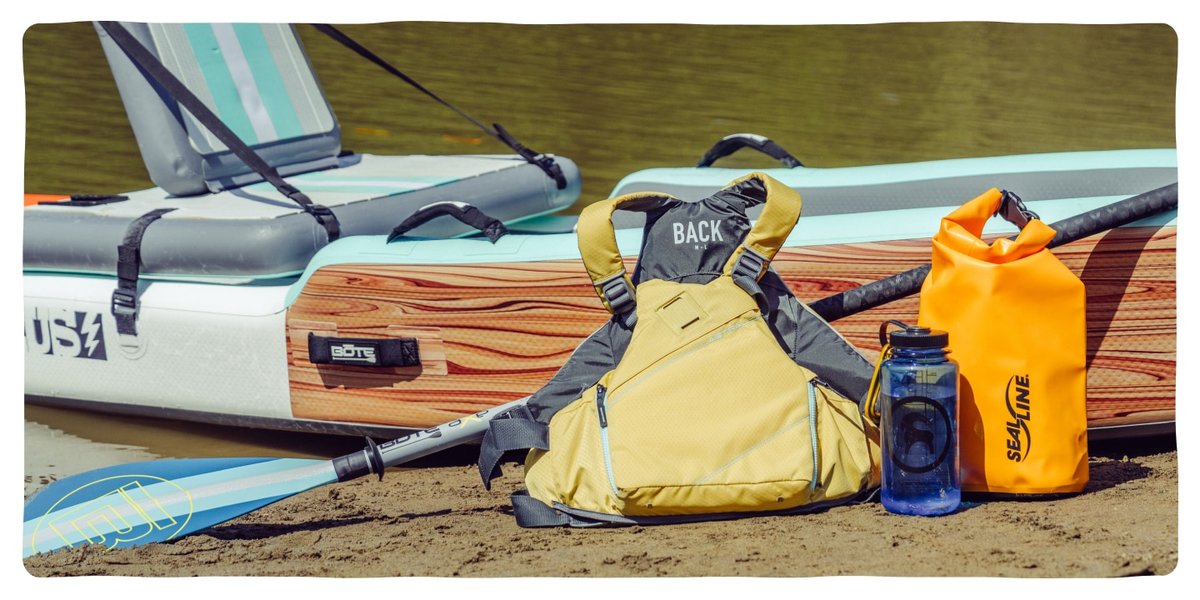
Kayak Accessories
Finally, a few key accessories can keep us safer and happier on the water:
- Dry bags keep our keys, devices, gear, and extra clothing dry.
- A whitewater or touring spray skirt seals water out of our cockpit to keep us drier and safer (optional for recreational kayaks).
- A paddle float or complete safety kit makes it easier to re-enter a sit-inside kayak and self-rescue when we capsize a sit-in kayak in open water.
- A paddle leash prevents us from losing our paddle on the water.
- A kayak helmet and safety gear are crucial for whitewater safety, rescues, and un-pinning capsized boats.
Start Kayaking
A note from the author of this article: Buying a kayak is the second smartest decision I ever made—other than marrying my wife. Over the past twenty years, I’ve paddled everything from small creeks, lazy rivers, and local lakes to remote box canyons, islands, urban waterways, whitewater rivers, and a Norwegian Fjord. I’ve also accessed plenty of fisheries by kayak that are harder to reach by foot, landing everything from smallmouth bass, walleye, and trout to musky, steelhead, and sturgeon. With luck, this guide to kayaking will help you get on the water to enjoy some of the relaxation—and adrenaline—that kayaking has brought me.
FAQs
Q: Is kayaking hard for beginners?
A: Like all activities, there’s a learning curve when learning how to kayak. However, recreational kayaks aren’t too difficult to paddle, and many paddlers find kayaking easier than canoeing.
Q: Do kayaks flip easily?
A: The recreational kayaks that most people buy are relatively stable and not easy to flip over in calm water. Whitewater and touring kayaks are designed to handle rougher water, and experienced kayakers can roll them back to an upright position if they flip over.
The Backcountry Bulletin
Gear Reviews, Pro Tips, Athlete Interviews & More